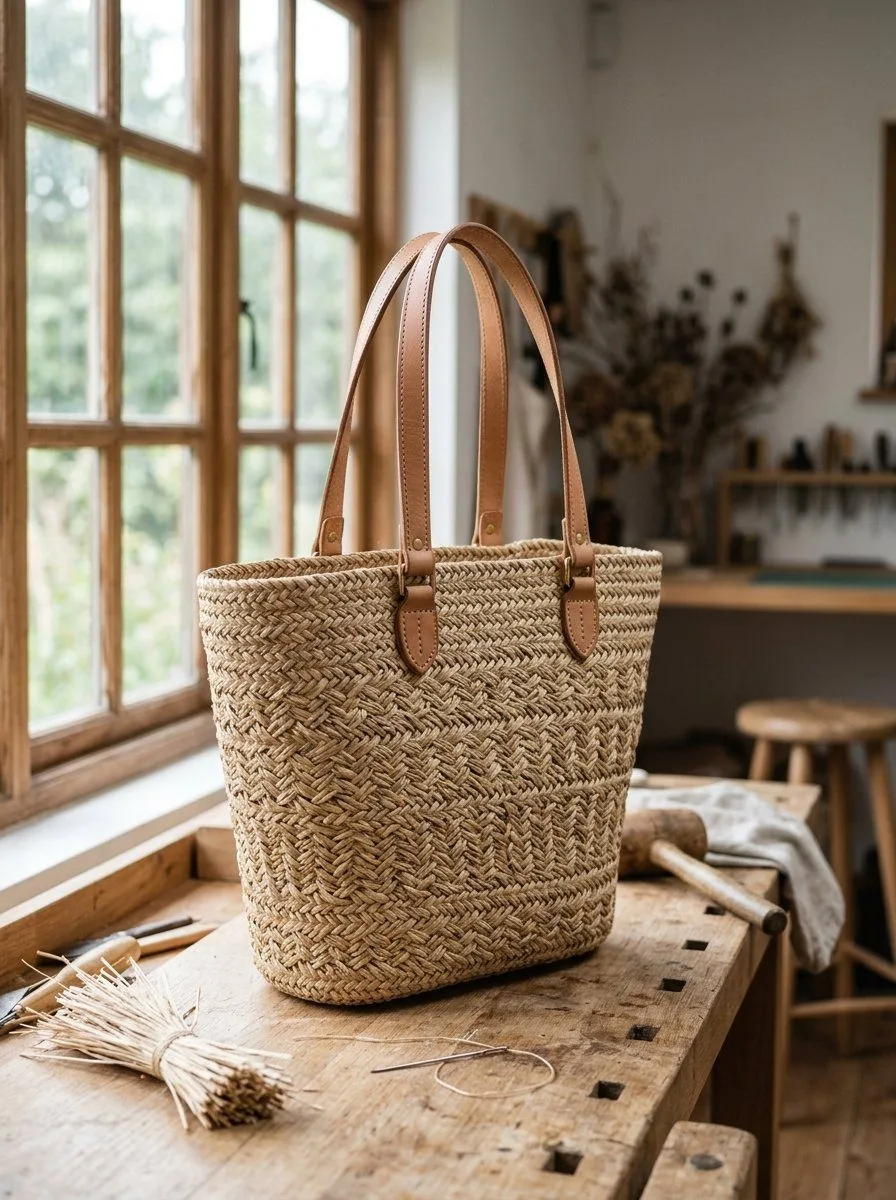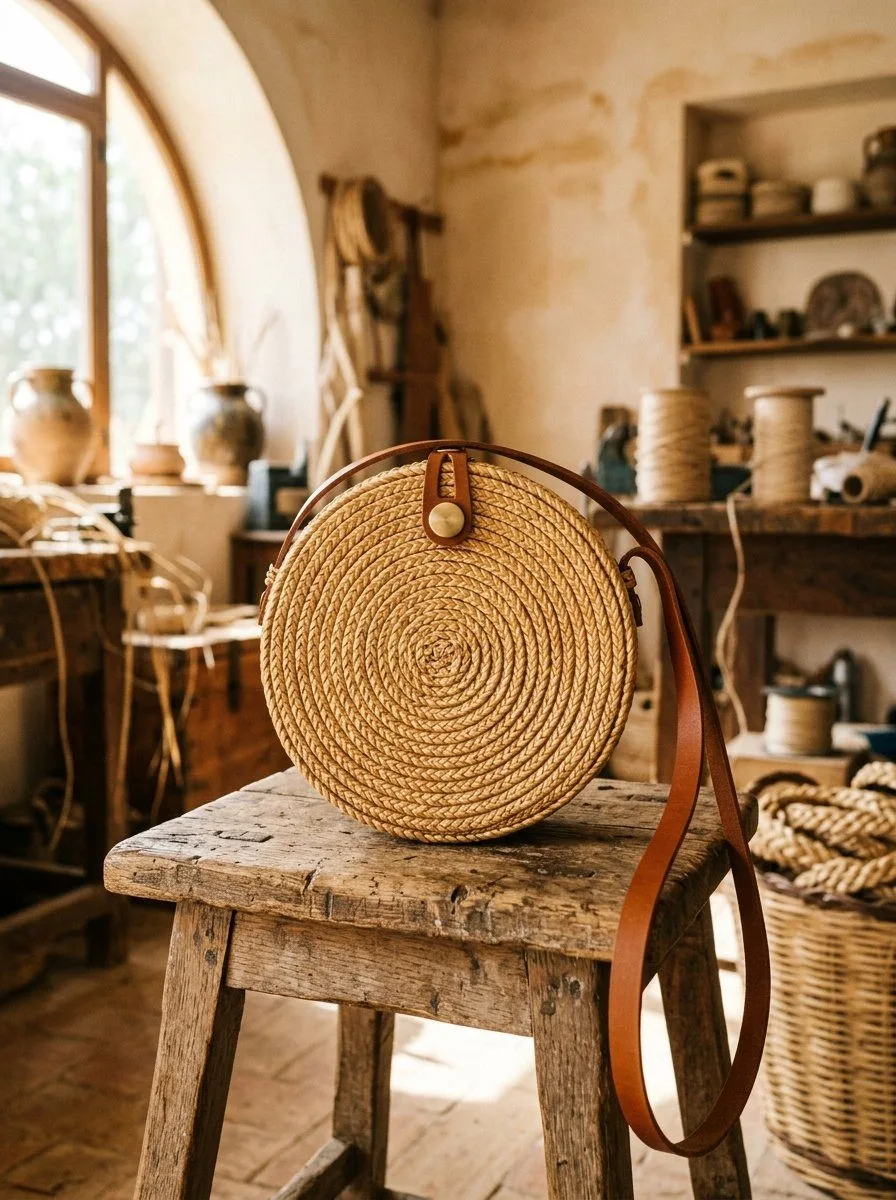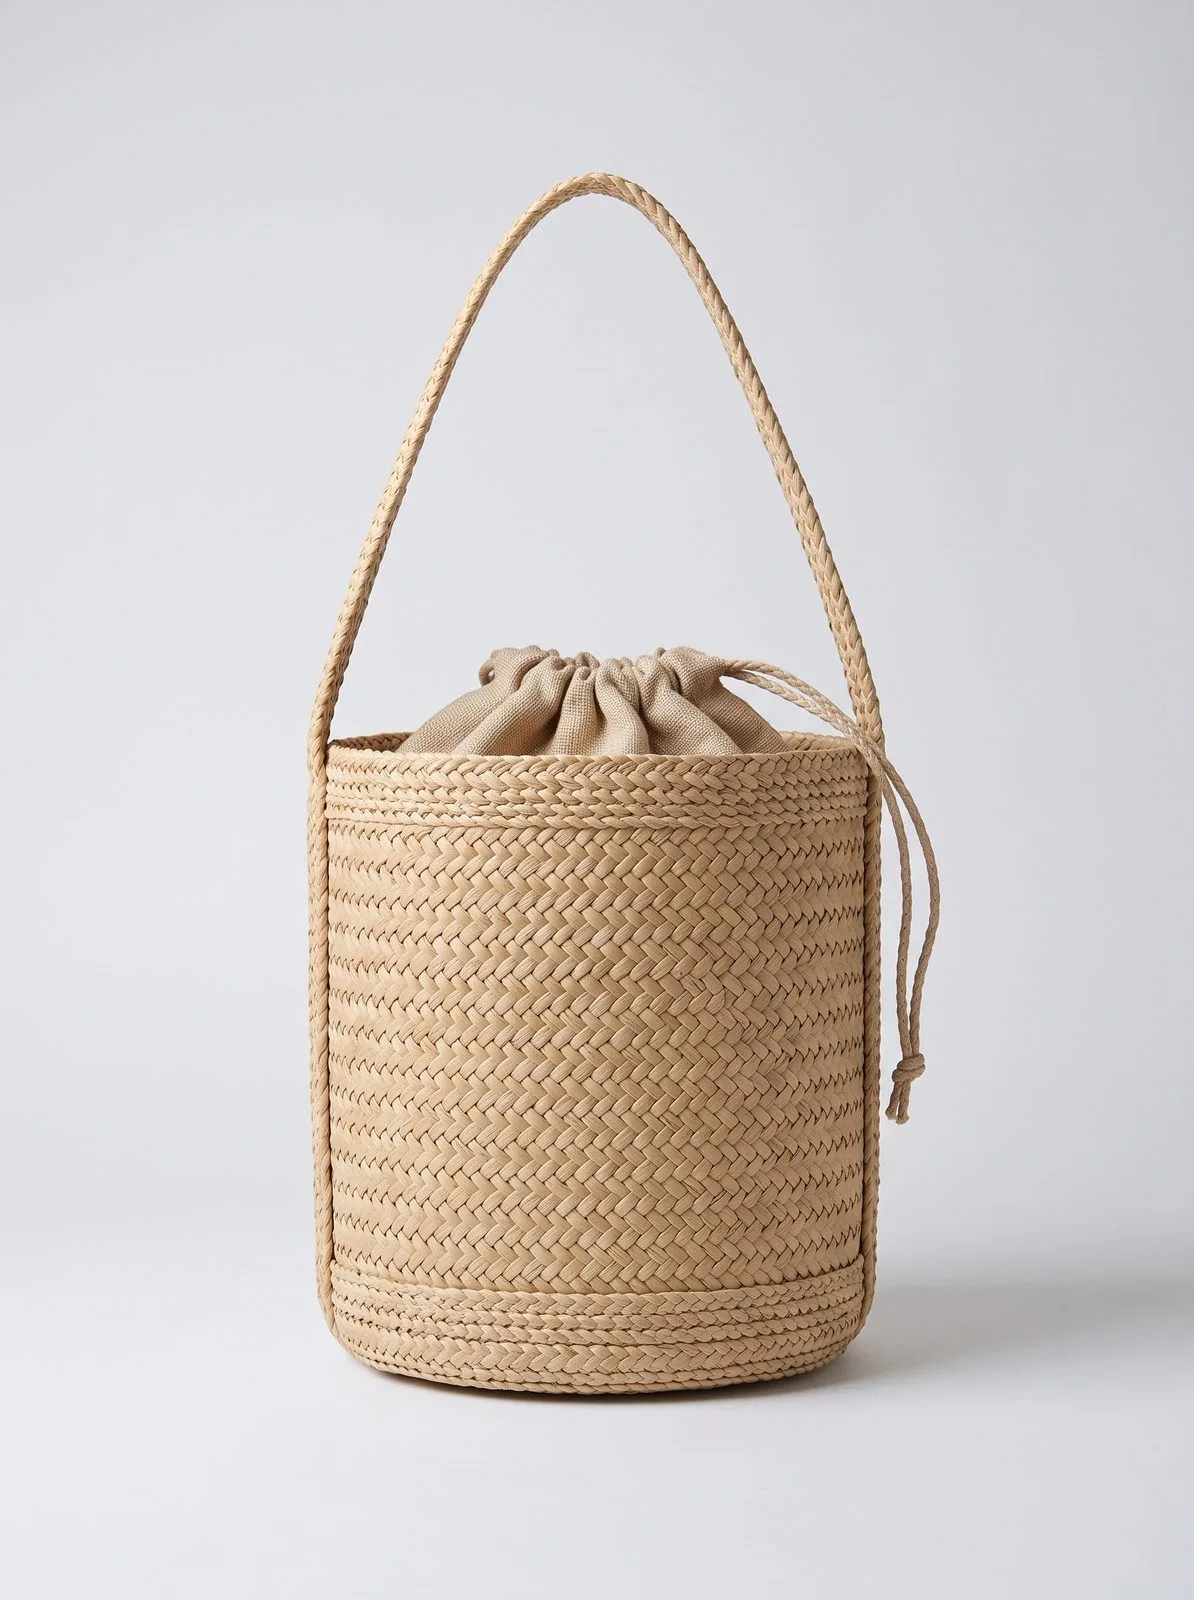
Two bags leave the same workshop with the same fibre, the same colour and the same silhouette. One feels like a finished product. The other feels like a sample nobody signed off. The difference is usually weave density, and it is the one specification a photograph cannot carry.
Density is also where a lot of buyer-supplier disagreement begins, because both sides believe they described the same bag. When a buyer sends us a photo and asks for "the same but better quality", density is almost always what they mean. The photo carries the silhouette. It does not carry the surface.
This is how to make density explicit, measure it, and decide how much of it your bag actually needs.
What density actually is
Density is not one setting. Three variables produce what your hand reads as tightness or openness:
- Strip width. Wider strips cover area faster and leave larger gaps between them. Narrow strips can close the same area with more passes.
- Tension. How firmly each row is pulled against the previous one. Two weavers using the same strip can produce different surfaces from the same pattern.
- Rows per unit. More rows in the same height give a finer grain. This is the variable most buyers can actually see, which is why it is the one worth counting.
The visible outcome is the gap between strands. That is why a percentage or a single word is not enough: a wide strip pulled tight and a narrow strip pulled loose can produce similar coverage with very different hand-feel, weight and behaviour under load.
There is also a fourth variable that is not density but gets blamed for it: the fibre. Raffia closes into a smoother surface than straw at the same tension. Straw has a natural spring that opens the rows slightly when the bag is filled; paper straw holds a set more predictably. Density is the decision you make inside a fibre, not instead of choosing one.
Three levels, and what each one is for
Most briefs are easier to write in three levels than in numbers. Think of them as open, medium and tight, then attach the reference photo or swatch that shows each.
| What it changes | Open | Medium | Tight |
|---|---|---|---|
| Surface | Visible gaps, strong shadow | Small, even grain | Close grain, almost flat |
| Shape | Collapses when empty | Holds once filled | Holds when empty |
| Load | Stretches, rows open | Carries a normal daily load | Carries weight without distortion |
| Fibre use | Least | Middle | Most |
| Hand time | Fastest | Standard | Slowest, and the gap widens on large panels |
| Reads as | Market, beach, casual | Everyday tote | Formal, closer to leather goods |
| Typical failure | Sagging base, opened anchor | Uneven top edge | Stiffness, weight, higher freight |
| A resort beach bag and a city tote can use the same raffia and land at opposite ends of this table. Neither is a cheaper version of the other. They are answering different questions about load, shape and how the bag will be used. |
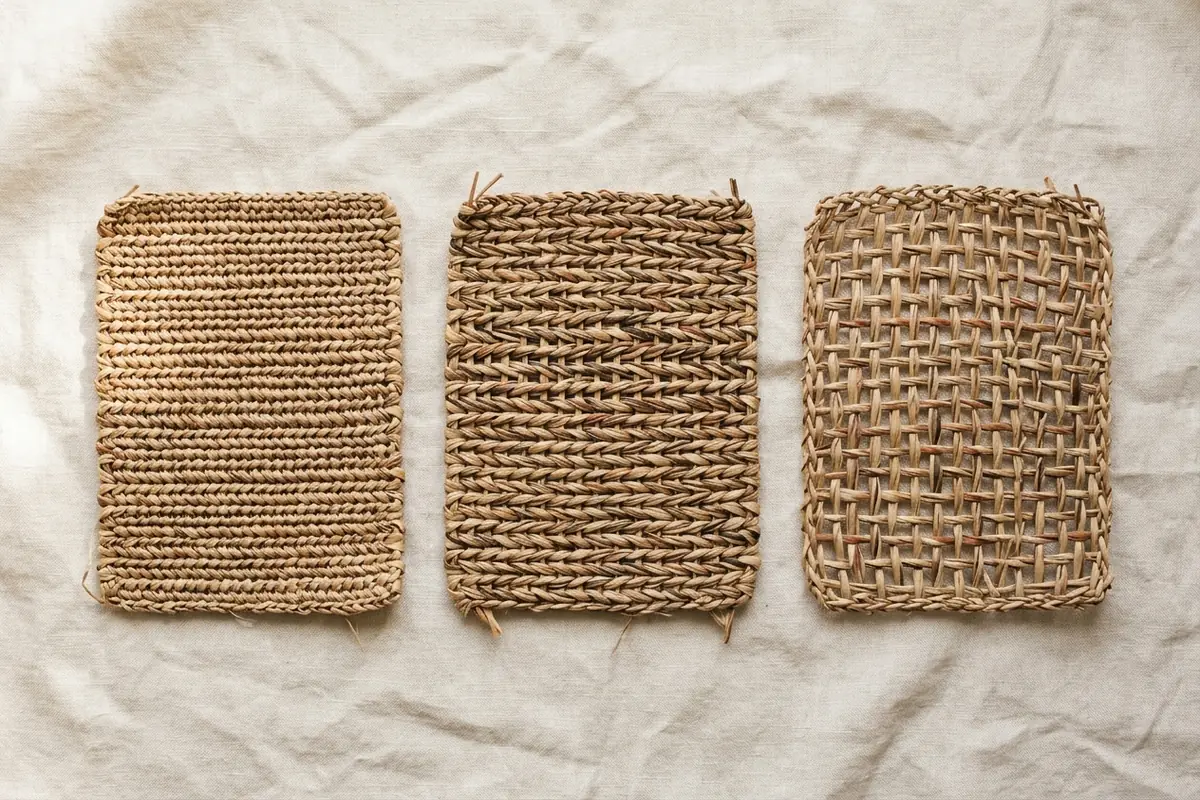 The same fibre at three densities. Photographed side by side, the difference is obvious; photographed one bag at a time, it disappears.
One warning about the middle column. Medium is not a safe default, it is a range. If your brief says "medium" and nothing else, two suppliers can both comply and still deliver bags that feel different. A reference pair, one yes and one no, is what closes that gap.
Density is not one setting for the whole bag
The most common first-sample problem we see is not the wrong overall density. It is the right density in the wrong place: a body that matches the reference, sitting on a base that was woven the same way because nobody asked for anything else.
| Part | Brief it as | Why it matters | If it is wrong |
|---|---|---|---|
| Body | Medium, in line with reference A | The surface the customer looks at | Too open reads cheap; too tight loses the woven character |
| Base | One step tighter than the body | It carries the entire contents | Sag first, then the rows above distort |
| Top edge | Finished: rolled or bound, weave closed | An open edge unravels and looks unfinished | Uneven rim, loose fibres, returns |
| Handle anchor | Denser patch, stitched through the weave | The highest-wear point on the bag | Stretch at the join, the first claim you will get |
| Side gusset | Same as the body, or slightly tighter if the bag stands | Controls how the bag folds and sits | Bulging or collapsing sides |
| On a 35 cm tote, the base is doing more work than any other panel. It takes the load and transmits it to the sides. A base woven at body density will look correct on a table and sag once the bag is in use, and once it sags the rows above it no longer sit straight. Retrofitting a base is not a repair; it is a remake. |
The top edge is the other one worth specifying in words. An open weave has an uneven rim unless something finishes it. That finish changes the character of the bag, so it belongs in the brief at the same time as the silhouette, not after the sample arrives.
How to measure it in ten minutes
You do not need a lab. You need a window, a ruler, calipers and something to put inside the bag.
| Test | How to do it | Where | Pass / fail |
|---|---|---|---|
| Backlight | Hold the bag against a window or a lamp | Body and base | No opening over 2 mm; up to 1 mm at the mouth is acceptable |
| Gap measure | Calipers at the widest gap, three places | Mouth, side seam, base corner | Any body gap over 2 mm is a reject |
| Row count | Count rows over 10 cm at three points | Front panel | Counts should match; a difference means uneven tension |
| Fill and lift | Load with a towel, a book and a water bottle, then lift by one handle | Base and both anchors | No sag, no opened rows, no movement at the anchor |
| Dimension check | Measure width and depth after filling | 35 cm body | Within ±2 cm; more means the weave is stretching |
| Weight | Kitchen scale, recorded on the sample card | Whole bag | A jump on a reorder means the density has changed |
| Backlighting is the fastest test and the one buyers skip. An empty bag on a table hides its gaps because the surface behind it is the same colour as the surface in front. Against a window, every opening shows as a point of light. Walk the bag across the window and watch the pattern of light move; uneven tension shows up as bands. |
The fill test is the other half. Put in what the customer will actually carry, not a scarf. Lift by one handle, hold it for ten seconds, set it down, and look at the base and the anchor. Density problems are invisible in an empty bag and obvious in a loaded one.
How to specify it without a technical vocabulary
You do not need the words "tension" or "sett". You need a comparison.
Send two references: one bag whose surface you want, and one whose surface you do not. That single pair removes more ambiguity than a paragraph, because it tells the weaver which direction to move. If you have a physical swatch, better still. A 10 cm square of the surface you are aiming for tells a weaver more in ten seconds than a page of description.
Then state the exceptions in plain language. A brief we can work from reads like this:
Body density: medium, matching reference A. Base: one step tighter than the body. Top edge: finished so the rim does not open under load. Handle anchors: denser, anchored through the weave. If any of this cannot be done in the chosen fibre, tell me before sampling and quote the alternative.
Four levers change density, and they cost different things:
- Strip width. Changes material use and the look of the grain.
- Tension. Changes hand time, not material.
- Rows. Changes both hand time and fibre quantity.
- Fibre. Changes everything, including how the weave ages.
Asking "can you make it tighter" without naming the lever gets you an answer you cannot price. Asking "what changes if we go one step tighter: the strip, the time, or the fibre" gets you a decision.
What density does to cost, weight and freight
Tightening a weave does three things at once. It uses more fibre, it takes more hours, and it makes the bag heavier.
The first two are visible on a quote. The third is not, and it is the one that surprises buyers at the shipping stage. A denser bag packs into a heavier carton, and on light, bulky goods the freight is calculated on volume rather than actual weight. Volumetric charges can add 20–30% to landed cost. Two versions of the same silhouette at different densities may not ship at the same cost per unit.
There is a counter-cost to going open. A loose weave often needs help to behave: a structured base panel, a lining, or a heavier top finish. That help costs money and adds weight back. The cheapest bag to weave is not always the cheapest to deliver.
The trade is worth making deliberately. On a bag that will be photographed and sold at a resort shop, tight may earn its cost. On a market basket sold in stacks, open is the correct answer and the lower freight is part of the margin.
Where density problems surface at QC
Density failures are rarely random. They appear in the same three places, in the same order.
The base sags. Rows compress under load and the bag loses its floor. The anchors open. The weave around the handle stretches, and a gap that measured 1 mm at sampling opens past the 2 mm reject line once the bag is used. The top edge goes uneven. A rim that was straight when empty ripples once the bag is filled.
Our acceptance standard gives the mouth of the bag a little tolerance: up to 1 mm there is treated as a characteristic of handwork. In the body, anything over 2 mm is a reject. We inspect 5% of cartons with a minimum of ten pieces. A defect rate under 5% is normal for handwork, 5–10% needs an explanation and a corrective action, and above 10% is rework or rejection.
Density also interacts with colour checks. Adjacent bags more than about 10% off the approved card are rejected, and an uneven weave makes colour read unevenly even when the dye is correct. If your inspector is flagging colour, check the surface first.
When a loose weave is the right answer
Loose is not a defect. It is a decision, and on some bags it is the right one.
A beach bag, a market basket, a cover-up tote: these are bags that should look like they were made from air and fibre. A tight weave in that context reads stiff and slightly wrong, like a straw bag trying to be a handbag. The open surface is also lighter, faster to produce and cheaper to ship, which matters at a price point where the bag is an impulse purchase.
Tight has its own failure mode. On a large flat panel, a very tight weave can look mechanical, losing the small irregularities that tell a customer the bag was made by hand. It is also heavier and less forgiving of a fibre that varies in width.
The line to hold is load, not taste. A loose weave on a bag that will carry a laptop is not a style, it is a return. A tight weave on a bag that will hold a towel is money spent where nobody can see it.
When this does not apply
Three situations where this level of specification is wasted effort, and one where the answer is a different brief:
A reorder. The density is already fixed by the approved sample. Verify against the physical reference and the lot record; do not reopen the decision.
A small accessory. On a clutch or a pouch, the visible panel is small and density variation has less consequence. A reference photo is usually enough, and at a 100 pcs MOQ the sampling cost is a larger share of the order than the density risk.
A surface that will be covered. If embroidery, appliqué or a print covers most of the bag, density still matters structurally at the base and anchors, but the body surface is no longer the design.
And one situation where the answer is not a specification at all: a price point that only supports an open weave. If the target cost needs a fast, loose surface, design the bag around that surface. Asking for tight density at an open-weave price gets you a sample that passes the meeting and fails the second order.
Common questions
- What is weave density?
- The number of strands per unit of width and how tightly they are packed. It sets drape, opacity, weight and how the bag holds its shape.
- How do I measure weave density?
- Count strands over a fixed width in two places on the panel, then compare. A difference between the two readings is the first sign of uneven tension.
- Does density affect price and freight?
- Yes. Denser weaving takes more fibre and more bench time, and the finished bag is heavier, which changes freight. Specify density with the cost in view.
If you are choosing between fibres before choosing a density, the woven bag materials guide covers how each one behaves. For how density is specified across a production range, see wholesale. If the structure is new and the density has to be developed with it, that is custom development.
See the basket bags we currently produce in this range.